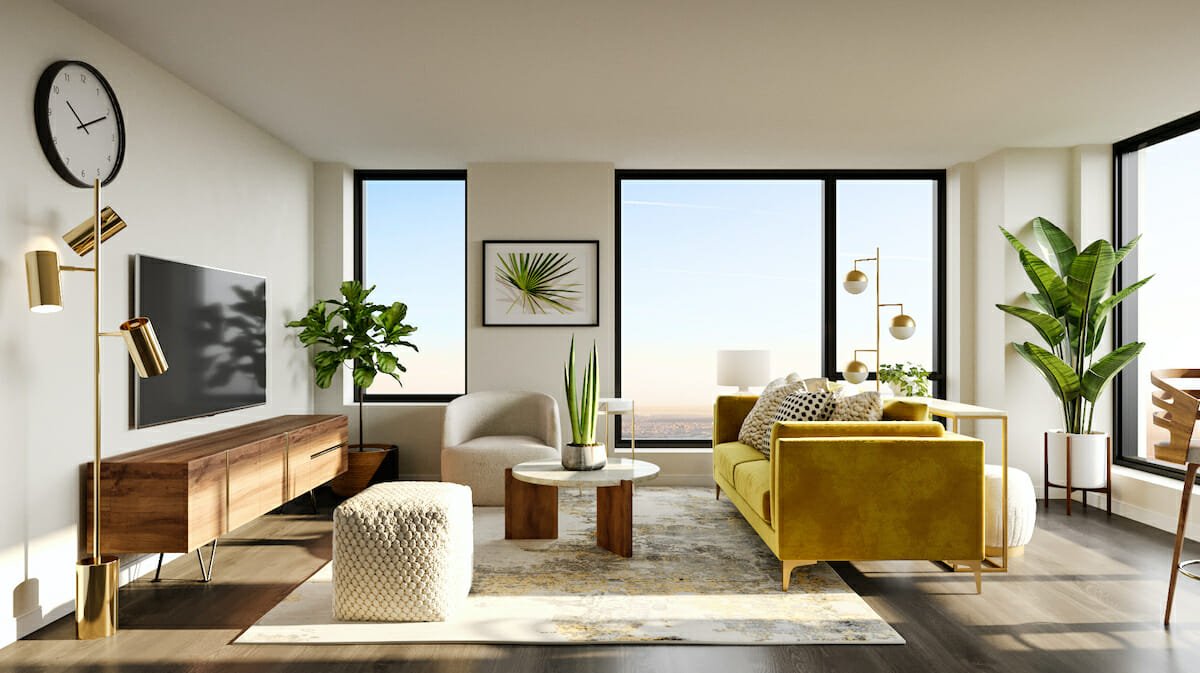
Creating the perfect living space involves many different details and considerations. Painting a room with skylights can be a difficult task, as the natural light exposure of the skylight can affect the color of your walls. However, with some careful planning and consideration, painting a room with skylights can create an inviting and beautiful atmosphere.Do you want to know How To Paint A Room With Skylights In this article, we will provide step-by-step guidance on how to properly paint a room that has skylights.
Selecting color
When selecting the color for a room with skylights, it is important to take into account the amount of natural light that will be entering the space. A darker hue can make a room feel smaller and closed off, while lighter hues can make a room appear brighter and more inviting. Consider what mood you want to create in the space – warm or cool tones. You may also want to pick out accent colors that will complement your main color choice. Choose shades from the same family or complementary colors from opposing ends of the color wheel for maximum effect. When painting ceilings and walls, use slightly lighter tones than flooring for optimal light reflection. This will avoid any harsh contrast between surfaces when illuminated by natural light through skylights. You can visit homedrywallandconstruction.com for more information.
Preparing the Room
Before painting a room with skylights, it is important to prepare the area properly. Start by removing any furniture or other items that may be in the way. If there are large pieces of furniture that cannot be moved, use drop cloths to protect them from paint splatter. Then take off any window treatments such as curtains and blinds, as well as switch plates and outlet covers on the walls. Make sure all surfaces are clean and free of dust before beginning. Also, cover any skylights with plastic sheeting to protect them from paint drips. After these steps have been completed, you can begin taping off corners and trim near windows and doors if desired for a neat finish.
Choosing Supplies
Before beginning a paint project in a room with skylights, it is important to choose the right supplies. Depending on what type of paint will be used, there are certain materials that need to be gathered.
If using oil-based paints, brushes and rollers should have natural or synthetic bristles. Pads and sponges should also be made from natural fibers like wool or cotton for better results. Oil-based paints may require thinning with mineral spirits prior to use. Thinner can also be used for cleanup after the job is complete. Painter’s tape should only be used around skylights if necessary; otherwise, it can leave residue behind when removed from glass surfaces.
For latex paints, foam brushes and rollers provide great coverage and fewer brush marks than other types of applicators. Since latex does not require thinning before painting, thinner is not needed for this type of paint either. However, microfiber cloths are good for cleanup since they absorb more water than cotton rags or paper towels do without leaving lint behind.
Applying Primer
Once you have prepped the walls and ceiling, it is time to apply primer. This step is especially important with skylights because they often cause more fading or discoloration than other areas of the wall. Primer helps ensure a uniform finish once you paint the room and can improve the adhesion of your top coat.
When selecting a primer, always look for one specifically designed for use on walls or ceilings; avoid primers made for wood paneling or furniture, as these are not suitable for interior painting. Latex-based primers are best when working with sheetrock and should be applied with a brush along edges and corners, then rolled on in long strokes using an 18-inch roller cover. Make sure to smooth out any ridges created by your roller as you go to keep from having visible lines after painting.
Allow your primer to dry completely before continuing on with the next step; this could take up to 24 hours depending on humidity levels in your home. If there are any areas that need touch-ups after drying, sand them lightly then reapply more primer before continuing onto painting the room.
Applying Paint
Once you have cleaned and prepped the walls for painting, it’s time to start applying paint. Start by painting the ceiling with a roller. When painting around skylights, use a brush for the edges and corners so that you can get into those tight areas without leaving any gaps or clumps of paint. Then use a roller on the rest of the ceiling. For most ceilings, two coats are best; apply one coat and let it dry thoroughly before applying another.
When you’re ready to tackle the walls, start at one corner of the room and work your way around in sections. Cut in along trim with a small brush before using a larger roller to cover larger surfaces like walls and door frames. If working around skylights, make sure to cut in with care as this is where mistakes can be easily visible after drying. For best results, try to blend colors together as much as possible when cutting in near skylights so that transitions look smooth when finished. After rolling out each section with a large roller, do a light touch-up pass with an edger or small brush if needed. Two coats are recommended for most walls; let each layer dry completely before adding another coat.
Painting Around Skylights
Painting around skylights can be a tricky task. It requires working in tight areas and being especially careful with brush strokes near the edges of the skylight. To get started, you should use high-quality painter’s tape to create a mask along the edge of the skylight. This will provide a clear boundary line while you are painting and help prevent any paint from getting onto the glass or frame of your skylight. When painting, it is important to keep your brush strokes relatively light and close together to ensure even coverage in these tighter spaces. If necessary, use a small artist’s brush for more precise detail work when creating sharp lines or edges at the corners of your skylights. When finished painting, carefully remove all painter’s tape before letting everything dry completely so that any residue does not end up on your newly painted wall surfaces. If you want our expert’s advice then you can click here for more details.
Cleaning Up
Cleaning up after a paint job can sometimes be the most tedious step. When painting a room with skylights, it is important to take extra precautions when cleaning up. To ensure that no paint makes its way onto your skylights, you can use a clean rag and mineral spirits to wipe them down. Ensure that all the excess paint is removed to avoid damaging or discoloring your skylight panes. As for the rest of the room, it’s important to vacuum or sweeps away any leftover drywall dust from sanding and any spilled paint from your project. Make sure to get into all nooks and crannies before vacuuming in order to make sure that every bit of dust is removed. Once done, dispose of any materials safely according to local laws and regulations.
Conclusion
The conclusion is an important part of completing any painting project, especially when dealing with skylights. After the final coat of paint has been applied and dried, it is important to inspect the area for any flaws or missed spots. Take extra care to look around corners and in crevices where paint may have gotten stuck or need a second touch-up. Once confident that all areas are properly painted, use painter’s tape to cover up exposed edges of trim or molding and remove excess paint from windowsills and floors. Finally, add some finishing touches such as light fixtures and artwork to give the room a polished look that will last for years to come.
Also Read: How Shaker Doors Enhance The Aesthetics Of Modern Homes